Wednesday, September 1, 2010

HELP! I'm a Ditzy Old Lady . . . With Good Intentions!!

I don't know why, but I am having the hardest time getting pictures and text organized in my posts right now.

I am working on several posts that keep getting jumbled.  As soon as I figure things out there will be more.

I am also working on a site that will be more organized and easier to find what might be of interest to you.

Please hang in there, it should get better soon and I am trying lots of new ideas and ways to used food storage.

I am also needing to drop the last 30 lbs. so that  I can faze out some to the too many medications that I take every day.  As I de-fat and health-itize my favorite foods, I will be sharing those ideas with you.  Using food storage of course.

Tuesday, July 27, 2010

Sweet & Sour Pineapple Chicken Camping Style

First a disclaimer:  You can make this in a casserole at home if you want.  It turns out just as yummy!

If you would like to refer back to the original recipe where I got this idea, you can click HERE.

Now for the real thing!


SWEET & SOUR CHICKEN  ala FOILIE

Rice--Steam enough to give each person about 1/2 c. each serving.  Minute rice is great if you are out in the wilds!  If you want to be safe from burning, line the bottom with cabbage leaves before the rice layer. 

Chicken--I have used raw, canned and left over  (can you tell that I love this stuff?).  They all work.    Plan on 3 - 4 oz. per person.

Veggies -- Anything goes!  Here are some examples of what I have used.
  • Carrots, slivered
  • Celery, chopped
  • Zucchini or Yellow Squash, diced or sliced
  • Onions, diced
  • Mushrooms, sliced
  • Broccoli, chopped
  • Cauliflower, chopped
  • Green bean, chopped
  • Cabbage, sliced
  • Sweet peppers
  • Just about anything botanical ?  Make it gorgeous dahling, if it's pleasing to the eye, it tastes better!
  • Pineapple-- chunks or tidbits are fine, actually I cut the chunks down to tidbit size.  Save the juice!!
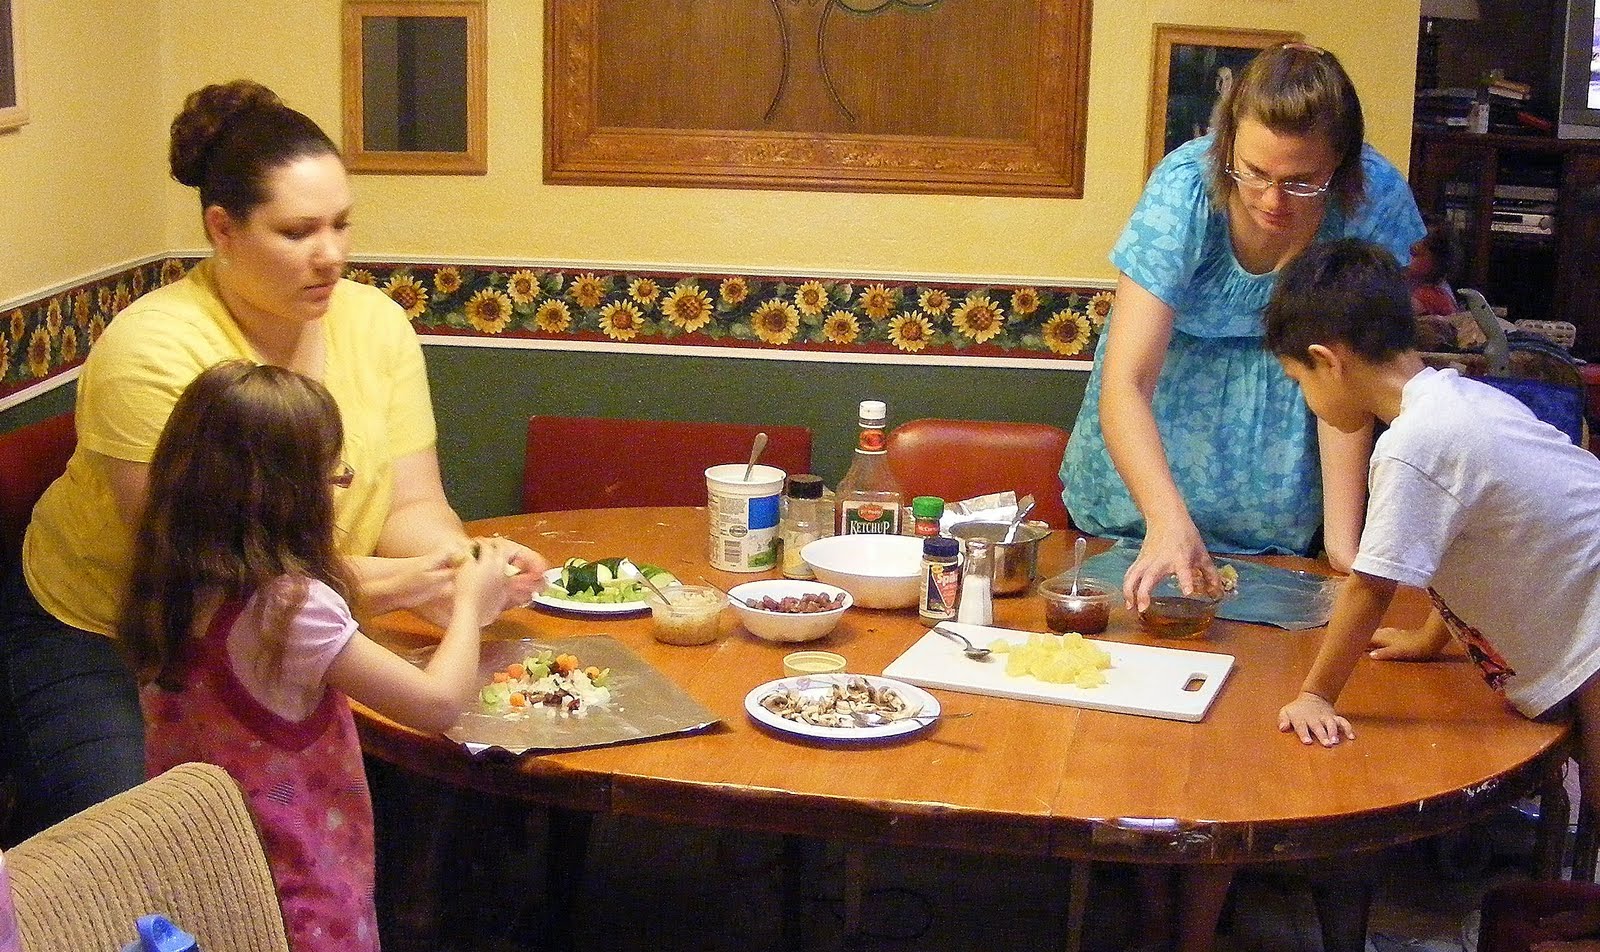
It's easiest to have all these all chopped and ready to go.  I set them all out in containers and let each person "build" their own foilie.  Even the little munchkins can have quite an opinion.

Scatter the chicken around through the veggies to distribute the flavor.  Now add the pineapple and scatter it about . . . ready for the sauce??  Yum!

I make the sauce out of:

  • 1 c. --Pineapple juice, add water to make it come to about 1/2 c. per foilie
  • 1 T. --Apple cider vinegar,  white or rice vinegar is also OK.
  • 1 T. --Sugar
  •  Tiny pinch --Ginger per cup of sauce,  powdered if you are camping
  • Good squirt --Catsup, not really authentic, but it's good mind you, good (from the great book, Guerrilla Wife, ever read it?).
  • Soy sauce, a good dash per cup of sauce or according to taste.
  • Corn starch, 1 t. per cup of sauce
  • Salt, if you want more salty without so much soy sauce.
Now for the "procedure".  Grab a cup to the side.  Carefully some of the juice into the cup.  Notice I didn't say how much?  This is not an exact recipe here.  It all depends on what you like and how much there is left to be distributed amongst all the diners.  Making it all in one batch might be the easiest.  So grab a bowl . . . . 

Put in the juice, vinegar, sugar (sugar and vinegar should be equal amounts) , ginger, catsup, and soy sauce into a bowl.  Mix them up good stir.  Add the corn starch and stir again.  Scoop half a cup in each foilie. 


That night, I warmed the sauce up in the microwave, stirring it every minute so to thicken it.  I have made it out in the wilds and just put it over the food so that it would  thicken as it cooked.  Worked fine.  
I tried to get pictures that would show how I brought the sides of the foil up to contain the sauce until I wrapped the dinner.  This is actually a large one for my hubby and me.   I covered the top with a second piece of foil and then folded all the sides like I usually do the top and sides.


Cook it on coals as you usually would.  Being so large, I cooked it for 35 - 45 minutes on moderately hot coals.  Who could resist this?


Believe It or Not!

Believe it or not, I have been busy trying new ideas with my food storage and cooking outside.   I have also been making bread and treats.  I have even been taking pictures!  Left is a giant foilie of the sweet and sour chicken.


I have also fallen in love with making this Artisan Bread.  I am trying to figure how to make several smaller ones for bread bowls.  Each baking dish needs a lid.

It has been a busy time with getting ready for another school year of baby sitting and just cleaning out thirty two years of accumulating marriage  junk  . . .  Let me make it clear, I am getting rid of the junk, not the husband!

I am finding it hard to organize everything so that I can get to it to rotate through using my food stuffs on a regular basis.

I hope to start posting all of these tonight . . . after the grand sons come over to paint and make some wooden toys.

Friday, July 16, 2010

What Not To Do?

I love blogs, you can make a total fool of yourself and who would know if they see you on the street.  I made some of the one hour bread last night.  Hubby came home and I rushed it so that I could get to bed, it was 11:00 pm and I was bushed.  Aren't a great "little" wife (not)?

Here are the pictures, such as they are.  I did try making it using some non-soy ingredients since my grand son comes over a lot and can't have the soy.  Today, I am going to go ahead and make it from original recipe.  I have several issues to correct, as you will see.  I am sharing these with you to save you the problems :-]


Here is the recipe with the experimental ingredients in blue.  I did cut the whole thing in half until I have it coming out right and soy-free.


Pantry Secrets Bread


  • 10 ½ cups bread flour or whole-wheat flour (or combination) ( I used white & half whole wheat)
  • ½ cup sugar
  • 1 Tablespoon Salt
  • 3 rounded Tablespoons SAF Instant Yeast
  • 3 Tablespoons soy lecithin (or 2 1/2 Tab. dough enhancer or both) (1/4 c. oil , 1 1/2 T. vinegar & 1/4 c. gluten flour)
  • 4 cups HOT tap water (or 3 cups hot water and 1 cup applesauce)


Mix dry ingredients (and dough enhancer if using).  Add lecithin directly into 3 tablespoon indentations in the flour and water.  Mix for one minute and check for consistency.  If dough is too dry or lumps to one side, add more water.  If dough is too moist, add a little flour.  Mix for 5 minutes for white bread, 10 minutes for wheat bread.  It will eventually clean the sides of the bowl.  Dough will be sticky.  Don’t add any more water or flour after it has finished mixing.


Preheat oven to 350 degrees.  Spray counter and bread pans with cooking spray.  Cut dough into 4.  Shape loaves and cover with a dish towel.  Let rise 20-25 minutes without touching or moving the dough.  Bake for 25 minutes.  If using a convection oven, bake 14 minutes.  Immediately remove  from pans to cool.

1.  I let the machine knead the dough for 5 minutes and it wasn't as smooth as it usually is so I gave it another couple of minutes, it didn't help.  2.  Pour a small amount of oil on the counter.   3.  Spread it out for molding the dough.


4.  Form the dough into a smooth ball by kneading a few times by hand.  Let it rest for a minute or two.  5.  Cut the dough into equal portions.  Remember that I cut the recipe in half so I only have two loaves worth.  
6.  Work the dough into a smooth roll and pinch the bottom good to make sure it holds smooth while baking.  


7.  Put the dough upside down into the well oiled pan  to coat the top with oil and them flip.  8.  Let it rise in pans with towel over to keep the top from drying out.  If it is day time (or even night in southern AZ) put it outside and it'll rise like crazy for you!  9.  Bake for 25 minutes at 350 degrees.  My favorite way to cool bread is to place it inside of a brown paper bag on top of a cooling rack.  When it is pretty cool go ahead and put it into plastic bags.

I will make another batch exactly as the recipe says today and share that with you.  So far I am not having the best luck, but Angela's was wonderful, so I know it is me, not the recipe.

LESSON LEARNED:  Try out new recipes before you are depending on the results.  I usually make good bread!  This is also why it is so important to learn to make bread before you need to.  It does usually take a little practice so it would be great to be a good bread maker before you are dependent on it!!

SNEAK PREVIEW:  This is the Artisan Bread recipe that Angela gave me at the same time as the Whole Wheat Bread.  It turned out so good last week end that I doubled this batch!  Pictures and results later today.  It needs to "stew" for a few more hours!

Thursday, July 15, 2010

Promises, Promises . . The Bread Is In The Works!

If anyone tells you they are sad or bored with their "empty nest", have their head examined!  I am blessed and lucky to have my kids and grand kids nearby.  This summer my daughters (including my DIL) are helping me pull my house together.  So when they can come, everything else goes straight to the back burner.

The bread is in the works, I am taking pictures and will be writing up the post through out the day as I go.  Should be on tonight as I sink my teeth into the nice fragrant warm bread, straight out of the oven and dripping with some butter and home made jam.  Can't you just smell and taste it already?  My hubby will love coming home to it tonight!

Sunday, July 11, 2010

ONE HOUR WHOLE WHEAT BREAD

I will be doing several posts in this series.   First let me" introduce myself".   I started making bread by hand when I was still single, in the mid-seventies.  It was light, delicious, and held together beautifully.  I had no idea why, I just worked with it until it was right.  I also realized that kneading bread by hand could give you quite a work out, good for the arms, especially the triceps and even for the abs.

Fast forward . . .  got married was broke as a church mouse when my husband changed careers five months later and it had to be good or we were in trouble, since I couldn't go out and buy some.  OK, I still had a little pride intact at that point and had to preserve a little dignity.  I married a really nice guy who had great cooks in his family.  He was the poor old bachelor (30) that everyone liked to take care of, so I had to live up to that.  The point being, please don't ignore this thinking, "I have a good recipe, don't need this".  It is good bread and who doesn't want to stretch their time in each day? 
  • First -- I will post the original recipe
  • Second -- will be the making of the recipe with pictures and results.
  • Third -- will be tweeking and playing with the recipes, because I am me, this is my blog and I can't help myself.   Angela said that it was OK because she did the same thing . . . wish I had gotten to know this kindred spirit earlier than a week before she moved!
  • Fourth -- I have learned a lot this week as I have used different ingredients, some of which I can't use if my grandson is going to be eating it.  I will be learning more as this process takes place and will share the good, the bad and ugly with you.  Left my pride behind me years ago and just want to make this life a growing experience for me and for anyone I can spare you the same "failures" that I may have  . . .  I am a mother and seem to take that old hen approach with any one around me.  Blame this one on my mom, she was that way.
  • So from an "Old Dog" , please don't write this series off if you feel you have nothing to learn.  I am 60 and still learn more every day.  Some of these are so quick it hurts.    Time is a priceless commodity in today's world.  This will help.
Some of the first lessons I learned :

  •  Know Your Machine --- When Angela showed me how to make this bread at her house, it was kneaded for 10 minutes.  When I did it at my house before teaching the bread class, the dough was really weird, lumpy and just wouldn't work up to a nice smooth surface like I am used to when forming loaves.  I finally realized that her machine had a dough hook like this.  It is a large industrial sized Kitchen Aid, just like I thought I wanted to replace mine with.  She said that it has a hard time kneading a four-loaf batch of dough when it is pure whole wheat flour.  So now I am wondering, like I can afford to buy anything right now . . .  

  • I have an old K-TEK machine that I bought about 25 years ago.  I made 6 loaves at a time, often twice a week.  If you notice, there are actually two hooks on this one and the white "flat arms" that stick out are stationary, so the hooks are pulling the dough against them while kneading.  Very efficient, but can murder your gluten in a heart beat if you don't pay attention. Who knew?  This wasn't the first time it has happened, just the first time in years.
  • So the moral of this long winded epistle is, read your owners manual!
Pantry Secrets Bread --  Angela's tweeks in (  ) 

  • 10 ½ cups bread flour or whole-wheat flour (or combination)  -- (we used 8 of whole wheat and 2 white all purpose flour that day)
  • ½ cup sugar
  • 1 Tablespoon Salt
  • 3 rounded Tablespoons SAF Instant Yeast
  • 3 Tablespoons (liquid) soy lecithin (or 2 1/2 Tab. dough enhancer or both)
  • 4 cups HOT tap water (or 3 cups hot water and 1 cup applesauce)


***It is important that you measure all ingredients very accurately!!***

    1.   Mix dry ingredients (and dough enhancer if using).  
    2.   Add liquid lecithin directly into 3 tablespoon indentations in the flour and water.


    ***  I tried to make one with a quarter cup, didn't work, so just make Tablespoon holes   Loved this little trick!***


    3.   Mix for one minute and check for consistency.  If dough is too dry or lumps to one side, add more water.  4.   If dough is too moist, add a little flour.  
    5.   Mix for 5 minutes for white bread, 10 minutes for wheat bread.  
    6.   It will eventually clean the sides of the bowl.  Dough will be sticky.  Don’t add any more water or flour after it has finished mixing.
    7.   Preheat oven to 350 degrees.  
    8.   Spray counter and bread pans with cooking spray.  
    9.   Cut dough into 4 equal pieces..  
    10.  Shape loaves and cover with a dish towel.  
    11.  Let rise 20-25 minutes without touching or moving the dough.  
    12.  Bake for 25 minutes.  If using a convection oven, bake 14 minutes.  
    13.  Immediately remove from baking pans and allow to cool on racks.

    Old Dogs Can Always Learn New Tricks!

    I just spent a very long wonderful day with all good things to do and learn,  It was Super Saturday at church for the Relief Society.  If yo are not familiar with that group, it is one of the auxiliary for women, 18 and over in the Church of Jesus Christ of Latter Day Saints.  All of us who participate find it to be a wonderful support for us and our families.  We have leaders who are called to teach, serve and mentor us, whatever age and stage of life we may be in.  It is a privilege to serve in Relief Society which brings growth to us when we are in that capacity as well.


    Some times we have "Super Saturdays", where we just get together and do things, learn things and enjoy the time to be together as friends, sisters and mothers/daughters.   It got a little long for Mariah and I since our day started with Bountiful Baskets at 5:00 am. Linda, in the middle, was pretty well in charge today since the others presidency members were not able to come.. No one can make a girl feel more welcome and comfortable.

    I did teach a quick class about making bread and learned so much.  It 's kind of funny, I have been making bread since the mid 70's and just learn/relearned many bread making principles.  After all those years making it by hand, I still have to remember that machines can actually over develop your gluten.  I absolutely destroyed one batch one batch  and then wiped out the yeast trying to keep some attack dough live and workable so that everyone could knead it and get the "feel" of good bread dough texture.  It was so funny/weird watching it sit there and just go belly up . . . . . .   will share all of this tomorrow with pictures as I make it all over again and do it right!!!  The little gal on the right with the dark ponytail was my partner in crime at Girls Camp.  she laughed when I told her that we were making dutch oven bread.  I was't kidding.  The Artisan bread can and would  bake beautifully in a dutch oven.  Yum!!  I'll have to do that on Monday.


    ARTISAN BREAD  --  I just had to try these recipes.  I can not tell you how good this was!  It takes a little preplanning, but it was gone is 10 minutes.  If you ever go to restaurants and wish you could take home tones of that lovely bread with the light crunchy crust and wonderful melt in your mouth soft chewy insides, you want to try this bread!!  It's easy and will make any simple meal gourmet!  Wish I had taken pictures of it.  I will tomorrow!